Hi guys, Mumma here!
I’ve hijacked the Squeak’s blog to share my approach to creating a maker lab for us both, on a budget. The end result was to be a creative, organised space that we could both use to indulge in our creative hobbies – for me that’s more crafts and construction, while for the boy that is, of course, more programming and some simple electronics.
Those who know me know I suffer from ill health, and chronic pain, so as with everything I do in life – creating the lab was a case of ‘working smarter, not harder‘ (literally my life motto.) With that in mind, the first thing I did was take visual stock of what I had at my disposal in the spare room I was planning to transform into our lab. Not only would this minimise the strain and physical workload for me, as well as the need to go out and physically purchase additional items, but it also served to minimise financial expense. Win-win!
Hopefully, some of the ideas below will inspire others to create a maker lab, or maker space, using some of what they already have as well. It saves money, time, and of course, the environment too. It might also prompt other parents to consider giving their maker-mad kids a useful space to work in on realising that it doesn’t have to cost much, if anything at all. Even if you don’t have something to hand that you can make use of – chances are you can get what you need to upcycle free or cheaply off your local Freecycle or Facebook selling site.
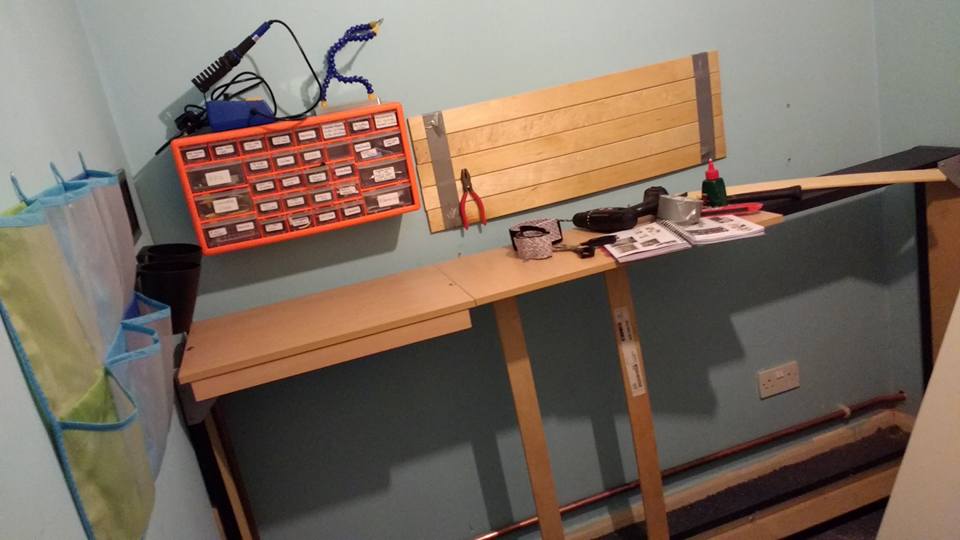
The first item I had to make use of was an old single bed, and looking at it, I could see it had clear potential to serve as a workbench if I removed the slats and turned it on its side – so that’s exactly what I did. I had thought that I’d then need to secure it to the wall, but a thorough poking and prodding satisfied me that simply wedging a thin piece of wood at either end of the frame would serve to keep it firmly in place.
For added security, I fastened a couple of the slats into place underneath the middle of the workbench. A few good, firm, pushes later, I was content that the bench would hold up under a fair amount of use and weight.
I situated the frame a little away from the wall, then topped half of it with some panels I prised from an old vivarium that we had sat in the garage. Fixing them involved the amateur lazy workman’s technique of a quick sanding of both surfaces, a drizzle of wood glue, and a handful of bolts to ensure the surfaces stayed put. This half would be used for electronics and soldering, and so I also situated a large ceramic tile on top to catch any solder spillages and avoid ruining the wooden tops prematurely.
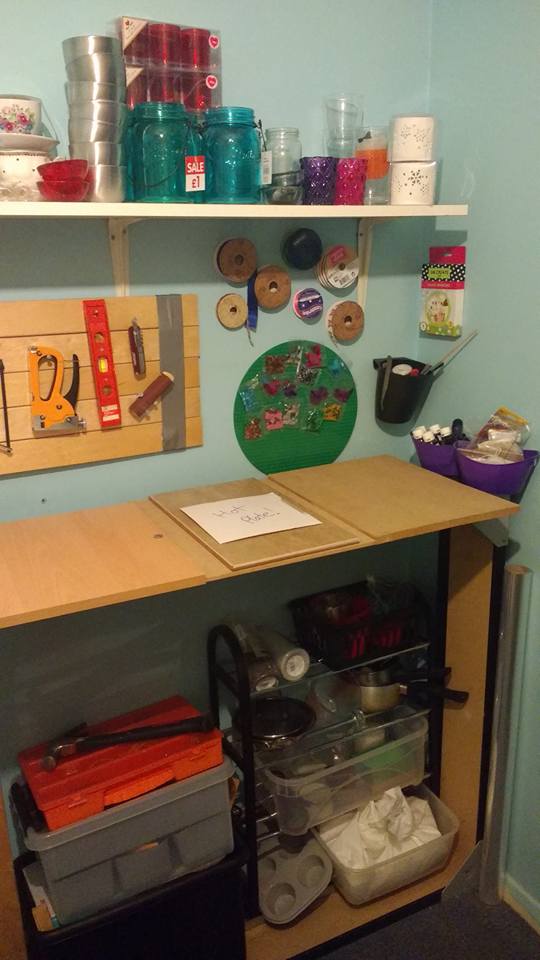
The second half of the bench was to be for Mumma’s candle making, so I used some MDF off-cuts wedged into place rather than secured, topped with old vinyl off-cuts that a friend gave me, intending for them to be easily replaceable if damaged – or even just flipped over. Again, I situated a large ceramic tile on top, to catch any wax drops and situate the single hob on (when I finally order one.)
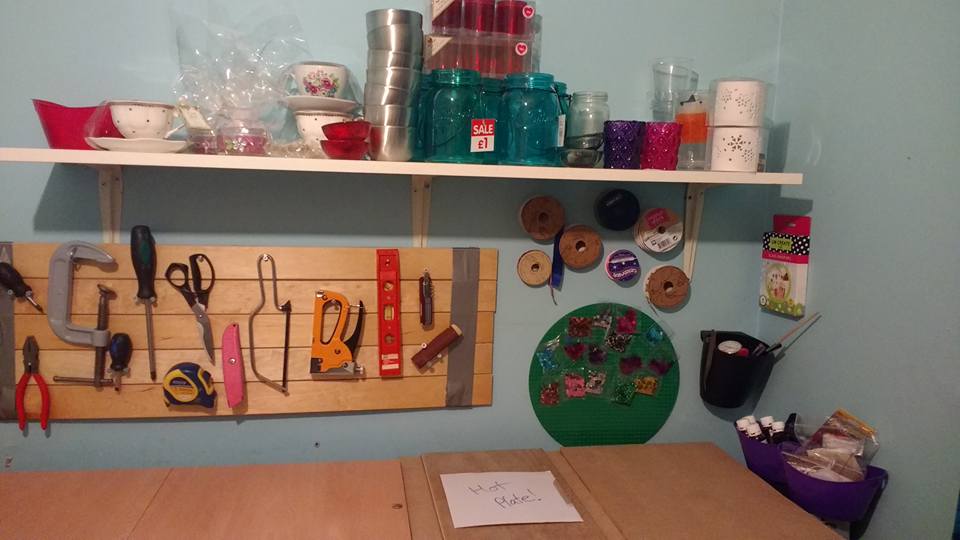
To finish this feature, I used some of the old slats to create a wall mountable tool storage board. I had seen various adorable peg boards on Pinterest, but felt that these would be an unnecessary expense, both financially and energy wise, given that I already had the slats ready and waiting to be used. I fastened them together by binding them securely with several rounds of ducktape, then hammered the board onto the wall in several places to ensure it sat securely. If I was intending to put more weight on it than the hand tools I have, then I would have used rawl plugs and screws, and drilled holes through the corners of the board of course. A few carefully positioned nails held each tool into place where I wanted them, and could easily access them while making things in the future. Already we’ve found having screwdrivers so easily to hand a massive time saver.
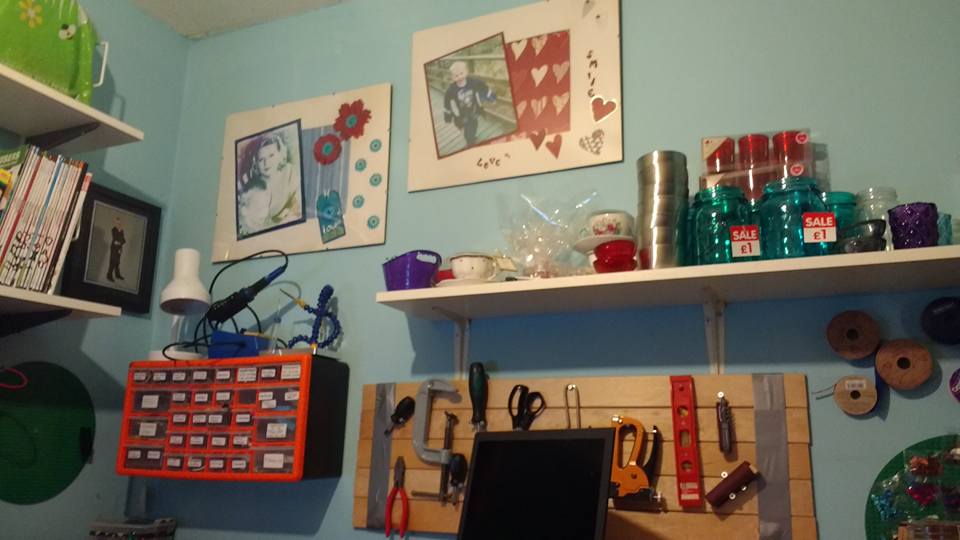
I wall mounted a screw storage chest, which is labelled clearly with all of CrazySqueak’s various programming and electronic components, and sat the soldering iron and extra hand on top. Besides this, I mounted reels of tape, copper tape, and garden wire, as well as a Lego board. Originally I’d just fastened some Ikea storage tubs there, sat on a couple of nails, but then decided that the Lego board would be a more fun storage feature there.
Along that wall I also fastened an old Ikea toy storage pockets gizmo that was already in there, and moved the Ikea storage bar with clip-on pots to sit at a convenient height above it, with pots for stationary and tools to be added to as I went along. I’d love to link to these products for you guys, in case you’re interested, but sadly can’t locate them on the Ikea site right now! They are very common market hall items so I’d expect them, or something similar to them, to be in stock should you want to pay your local store a visit.
Behind the candle making space, I drilled through a circular Lego board and used a screw and rawl plug to fix the board firmly to the wall. I attached various handy embellishments to the board by hot gluing fake Lego bricks onto the backs of the packets – easy to use and then replace or change around as desired. I hammered nails into place to mount a variety of ribbons, and used a couple of sticky hooks to hang hand items from. Underneath, I positioned a cheap shoe rack, to store my bigger materials.
Finally I used the shelf above, which was already positioned where it is, to stash my candle jars and finished candles on.
Despite my chronic pain issues, none of this was as difficult or arduous as it might look and sound; in fact I found it quite enjoyable! The rubbish I amassed early on, however, was a different story. To say I hurt myself clearing this lot is an understatement! It was an entire evening’s work just to round it all up and get it down the stairs, then another session’s work to take the bags of rubbish down the local tip (on the rare occasions it’s open these days.) As anyone with chronic pain will tell you – it’s all about pacing yourself. So I had to view this as a separate task, and not an afterthought to other tasks. The advantage for anyone doing it this way is that it is a time efficient way of dealing with the rubbish though. By identifying it as a single task, and approaching it as such, you don’t waste time faffing around with smaller loads of rubbish. You amass it all at once, collate it all at once, and dispose of it all at once. I imagine that those who faff around back and forth with smaller loads take much longer than I did to get rid of the rubbish during similar projects. While I was at it, I also dismantled and tipped an old chest of drawers that I had no use for in the new lab. I prised it apart, carried the pieces down bit by bit (was a ridiculously long process involving a lot of tea breaks), and tipped it along with the general rubbish. From there, I had plenty of space in which to tackle finishing off the other half of our lab.
My next job was to get a decent sized desk installed, and as a stroke of luck, I got offered a giant desk top for free! A friend of ours was clearing out their office, and the scrap men had happily taken the desk legs – while leaving them with the desk itself. My friends kindly loaded it up into my car for me, along with a little cabinet they had no use for anymore, and my neighbour’s strong young man lugged it up the stairs for me at the other end (poor sod looked like death afterwards!)
I took the legs off of my existing Ikea desk, drilled holes into the new giant desk top, and fastened them on. CrazySqueak helped me to flip it over, and then I slightly rounded off the corner nearest the door to minimise the space it blocked on entering our lab. As a small single room, space is limited, so I’d rather have a slightly strange looking desk that is big enough for all of the things we want to use it for, than a small one with easier access. I just turn slightly sideways to get in and out – it’s fine!
On top of the desk, I installed my existing craft storage drawer tower that had been cluttering up my living room till then, along with some mini drawers that hold most of my craft tools, and one of these cool make-up organisers that perfectly suits my stationary needs. I love those babies so much I have about four around the house now! I also re-purposed the box this organiser had come in, by turning it inside-out and lining it with PVC tape, to store some of my papers in since it’s just the right size for doing that with. NB the organiser I’ve linked to includes two sections – the organiser, and a set of drawers. These items are sold separately in store at most Home Bargains store at the moment, with the organiser part on sale for £4.99.
Above the desk there is a shelf which was already installed, with some handy under-shelf storage baskets attached to the underside: perfect for papercrafts! On top of the shelf sit my embellishment organisers (open topped for easy access while working) and my new resin supplies (not going so well!)
As a few fun extras, I decorated some old pots I had to store surplus tools in, as well as stash my decoupage papers neatly. I further decoupaged up a set of boxes to store my favourite papercraft materials in.
The other end of the desk was for hosting my main PC and monitor, with a monitor for an RPi stashed just behind on materials I already had handy. I could have wall mounted the second monitor but that would have been more work and expense! Besides which, we regularly use this monitor at Jams so it’s convenient to be able to move it easily. Next to that sits a printer and scanner, and some more velcro hooks are on the wall, with a Star Wars bag full of RPi bits handily hung off one of them.
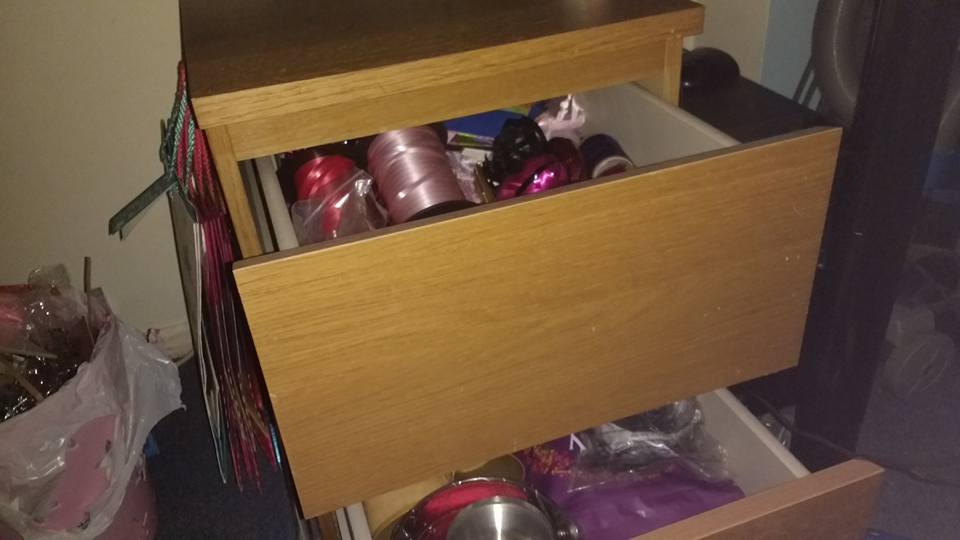
Underneath the new desk, sits a couple of large storage tubs containing my scrapbooking supplies, and the little cabinet I was given – now filled with gift supplies. I hung my bargain bag stash on teeny screw hooks either side, and filled the drawer with my gift supply stash (I always snap up these items when Tesco have a clear out.) Finally, there’s a little bin under there, for paper scraps and things while I’m working, though for bigger bits of rubbish there is a sticky hook on one of the walls to hold a black bag.
The next major task was mounting a series of heavy-duty shelves to hold the boy’s extensive programming library, as well as provide general extra off-floor storage given the minimal space available to us in the box room. Unfortunately, I was half asleep when purchasing my shelving brackets, and accidentally came home with single slotted ones instead of the doubles I’d intended to purchase – and bought brackets for in the same purchase. Clearly the woman on the checkout in Wickes didn’t notice this glaring error either. Due to my impatient nature, and tendency to take a lot of naps as it is, I decided to plough on with the single brackets and hope they’d prove sufficient – which they just about did. Overall this is an expensive way to mount shelves compared to purchasing individual shelves with single brackets that fit underneath at either end, however it is more secure, and this is especially important where mounting heavy books onto the wall, and even more so where said wall is hollow and crumbly inside.
NB. The crazy one wasn’t overly helpful, but he got to have a go with a hammer at least.
An important finishing touch to our lab was, of course, a drinks and snack supply station. I can’t stress enough how essential this feature is in any lab. How can you make things while hungry? Or without a cuppa?! Madness.
In the photo below, you can see an instant Hot Cup hot water machine, however I have since switched this round with the Tassimo machine I had downstairs: the reason being that the Tassimo, when used with the service disc in, lets out a little cold water before boiling water follows – making a cuppa that is a drinkable temperature straight away. The Hot Cup machine, however, produces an instant cup of boiling water; by moving it into the kitchen, it’s near to a tap, so I can add cold water much more easily.
Drinks (bought fairly cheaply from B&Ms) got stashed away in an old, empty filing box, and snacks were hung up underneath the workbench, slightly out of our normal line of sight to minimise temptation a little!
Finishing up the snack essentials, the boy’s Xmas presents of a sweet station, and automatic jelly bean dispenser, got sat upon the book shelf. Part of my reason for doing this was ornamental given how the Crazy one isn’t a big sweet-eater, and to fill some of the empty space without adding even more weight to the existing heavy load on that shelf.
The last purchase to be made was a couple of bar stools for use at the workbench, which I picked up at a reasonable price off of Amazon (click on the hyperlink to view/purchase.) I did consider holding out to see what came available cheaply on our local Facebook selling site, but decided that given our joint problems, it was better to choose the right style and height for our needs – but this is certainly an option to consider if you don’t have our needs and are on a budget.
Well, that’s about the full story of how I turned our spare room/dumping ground into a maker lab for us both. In the coming weeks I’ll also be purchasing a hot plate, along with some additional candle making supplies, but for now I’ve got some other financial commitments that take priority. I did also consider getting a wall mounted TV in there, but on reflection, that’s just lazy of me! I have a 10″ tablet I never use anymore, and I can watch pretty much anything I want to on my PC anyway.
I’ll leave you guys with a few snaps of our first lab-makerings:
Mumma x
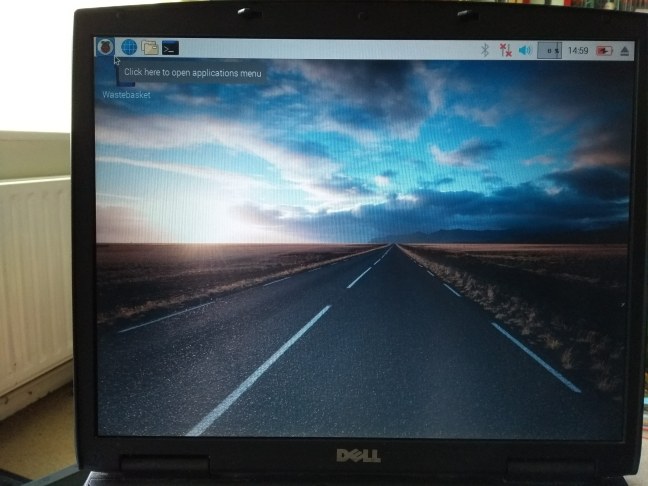
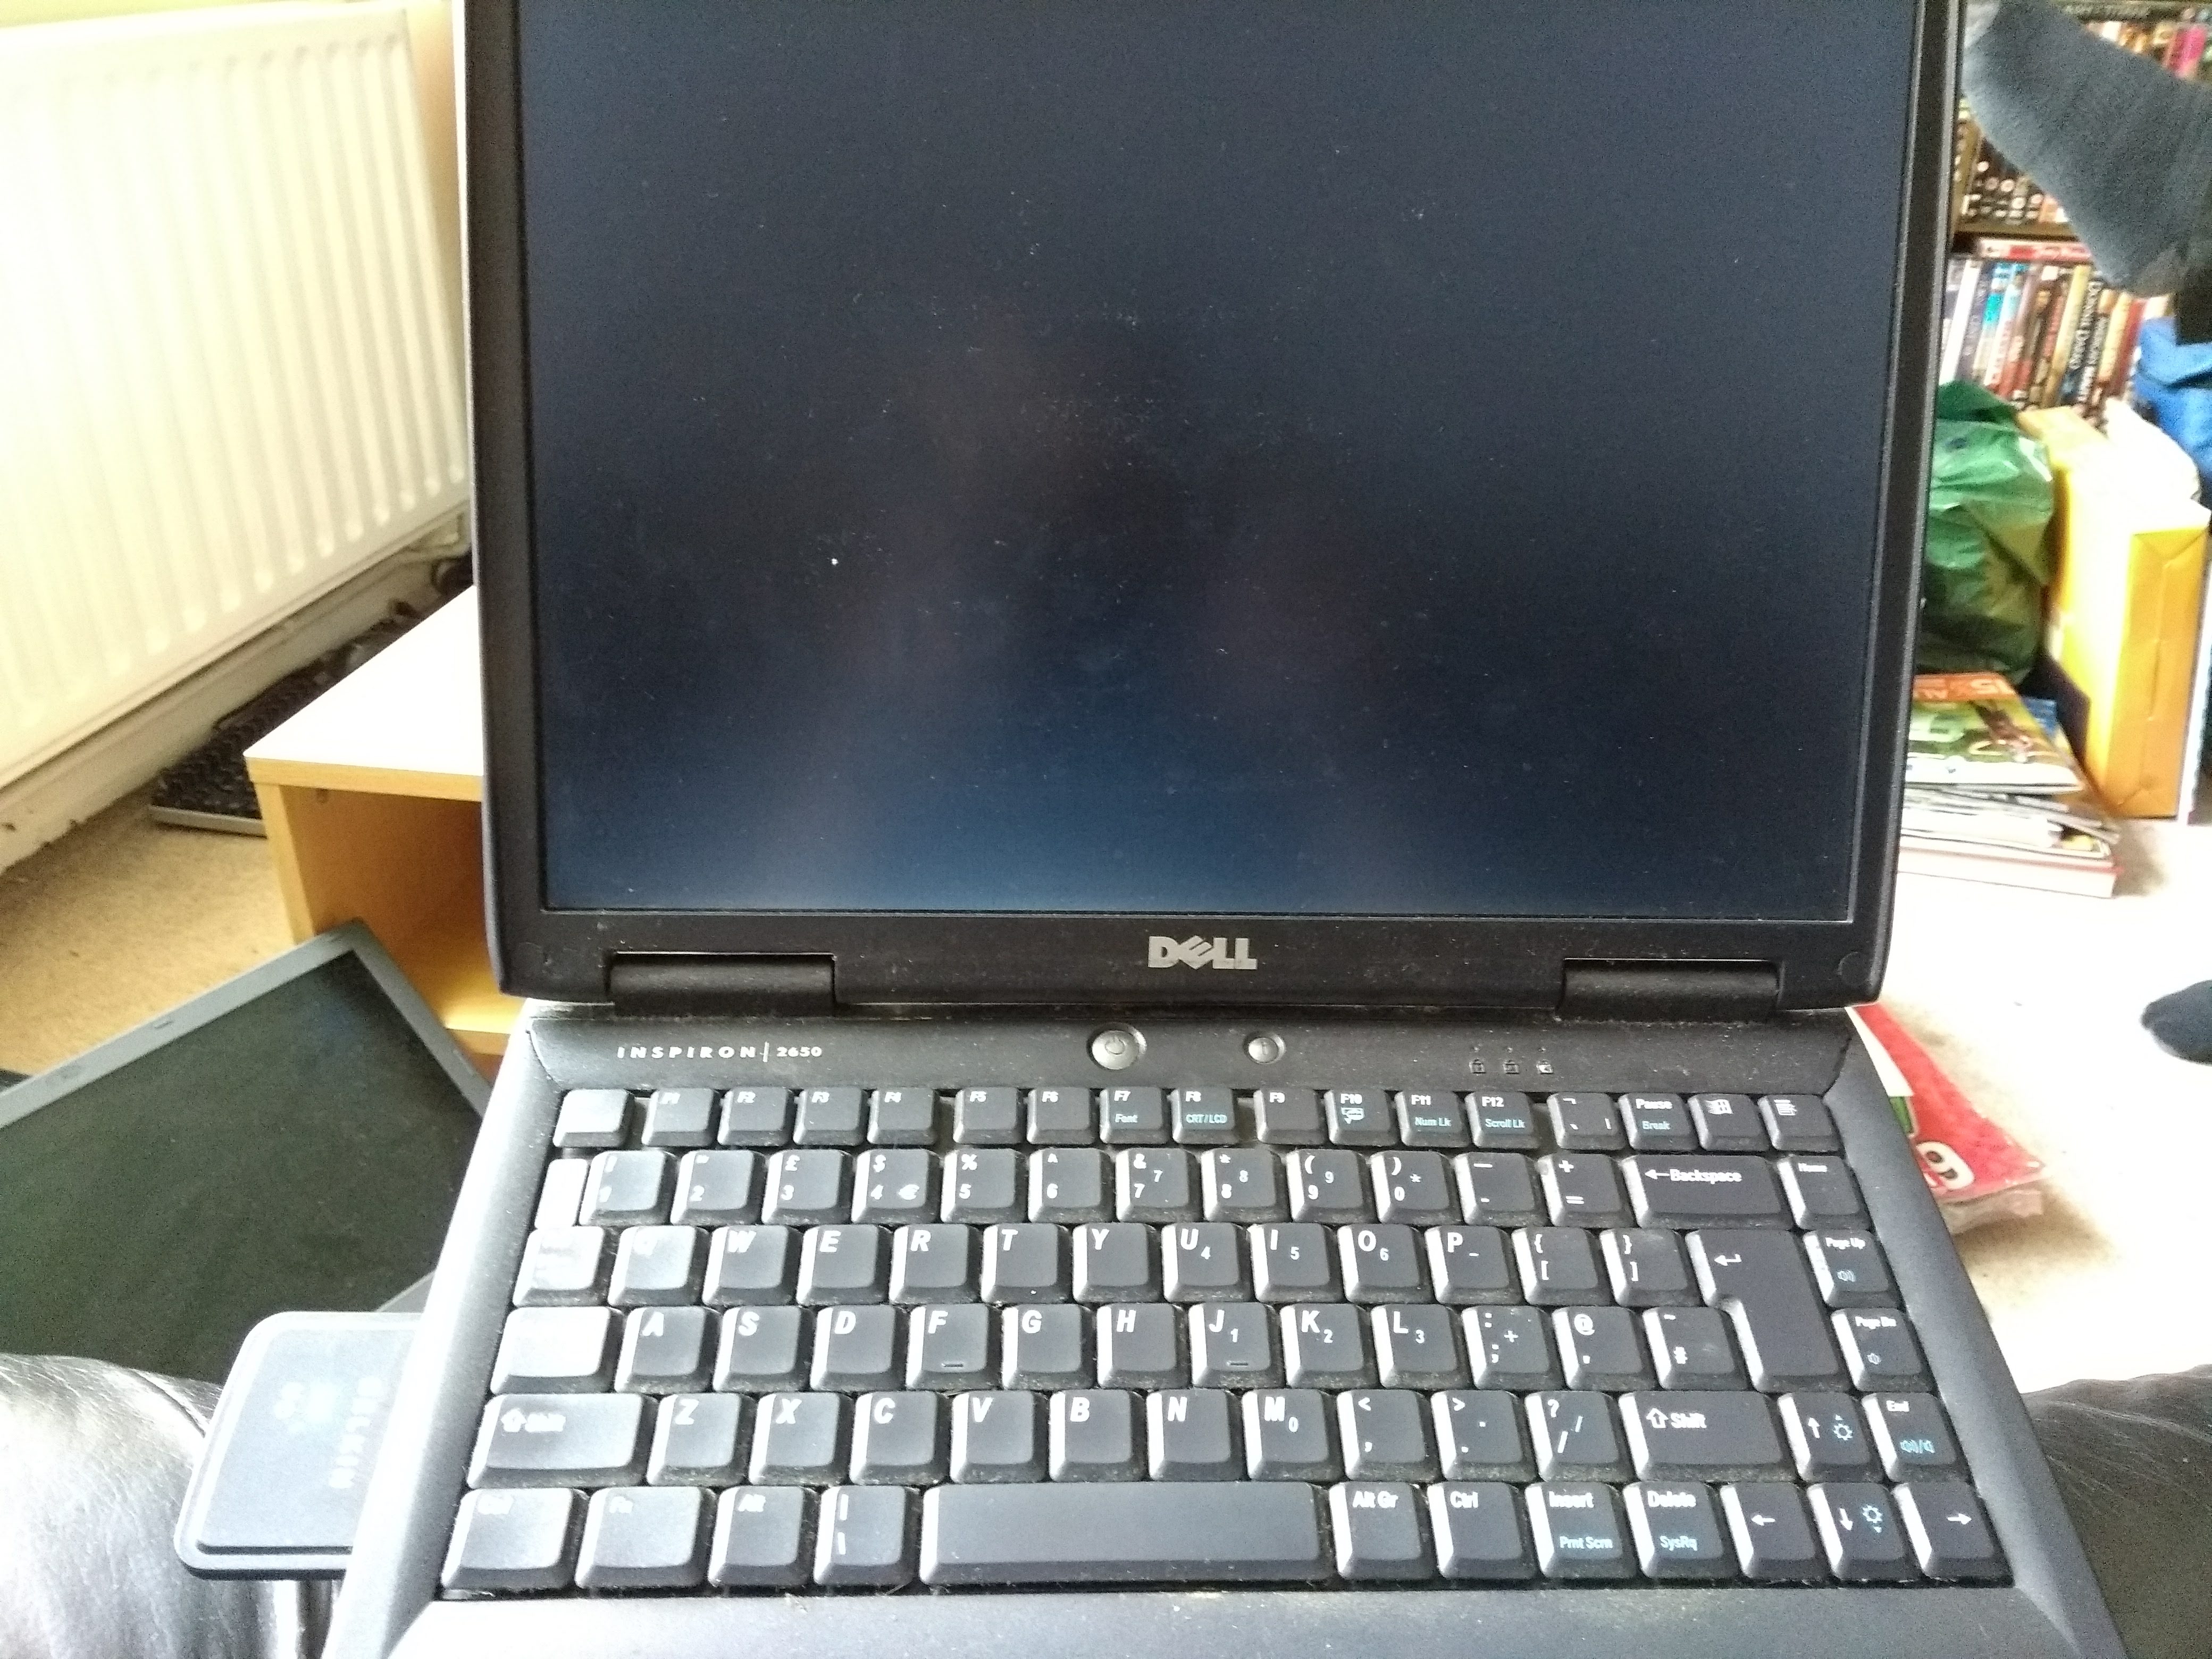 The laptop (A Dell INSPIRON 2650 according to the text on it) that I installed linux on.